Gerudo Town & Vah Naboris

After completing a shrine, I started my trek to the Gerudo Desert. Only women are allowed into Gerudo Town, but I found a tailor in a nearby marketplace that offered to make some women’s clothing for me. That’s right, you have to crossdress to get into town. 😛
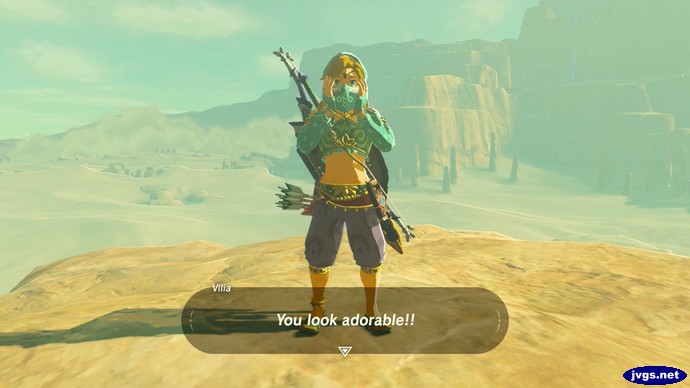
Vilia, to Link, who is dressed as a woman: You look adorable!With the new outfit, the guards at Gerudo Town let me walk right in. I checked out the shops and spoke with everyone I saw. The residents and visitors are all female. Or at least that’s what I thought, until I saw a Goron inside! What’s he doing here??
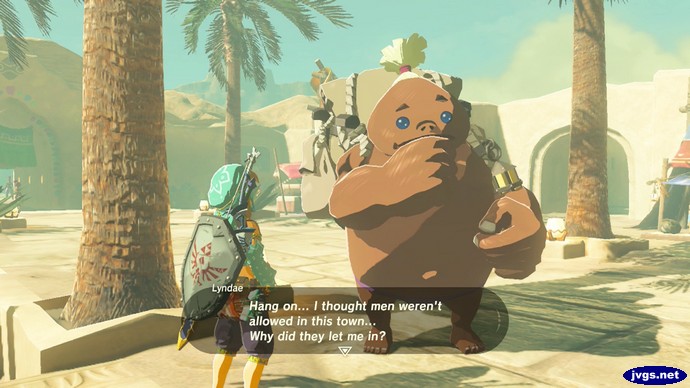
Lyndae: Hang on... I thought men weren't allowed in this town... Why did they let me in?I went in to meet Riju, the Gerudo chief. She saw the gamepad Sheikah Slate on my belt, and figured out I was a guy. But she didn’t kick me out (or cut anything off) because she knew I could help beat Divine Beast Vah Naboris (does that rhyme with…Delores?).
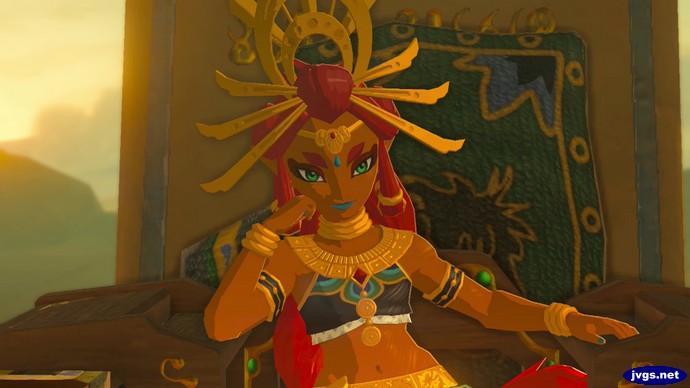
Riju, the Gerudo Chief, in The Legend of Zelda: Breath of the Wild for Nintendo Switch (also on Wii U).She told me to have a chat with her soldiers. But first, I saw an open door and wandered inside. It’s a classroom, but they’re not studying geology in here. This is a relationship class! What an interesting course. 😛 I bet the final exam is pretty hard.
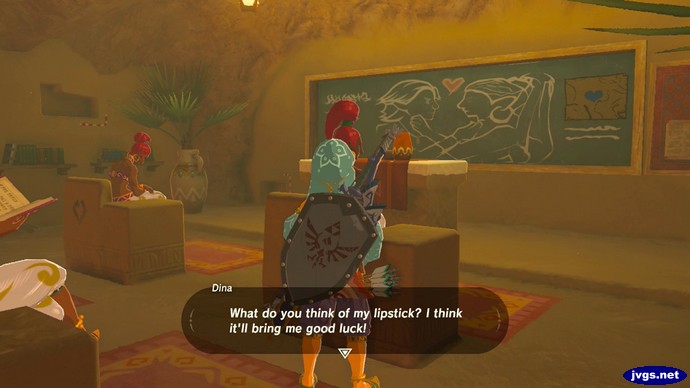
Dina: What do you think of my lipstick? I think it'll bring me good luck!I already thought this classroom was rather weird…and then I saw the dummies.
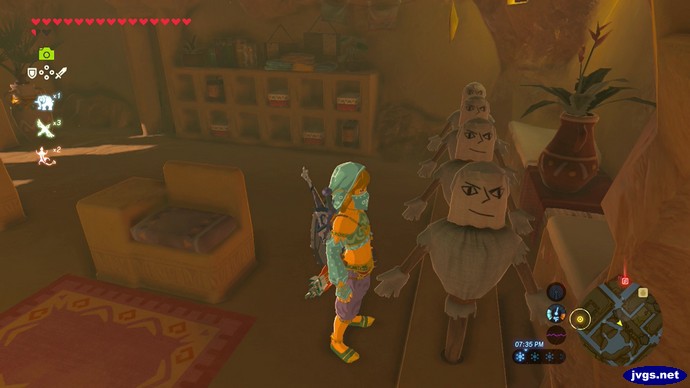
The dummies lined up in the relationship classroom.Do they practice on these dummies? OMG. I’ve heard of crash test dummies, but this is ridiculous! And look at those faces…wouldn’t that be a turn-off? And they’re wearing gloves? I don’t even want to know why.

Before I saw anything even more disturbing, I left the class and went to talk to the soldiers. They told me that the chief’s heirloom (the Thunder Helm) was recently stolen, and they said it was taken to the Yiga Clan’s hideout in Karusa Valley. So I left Gerudo Town and headed in that direction. After looking around a bit, I found the hideout.

This area required some stealth, and also some…bananas? I thought I discovered Donkey Kong’s hidden stash of golden bananas when I reached this room.
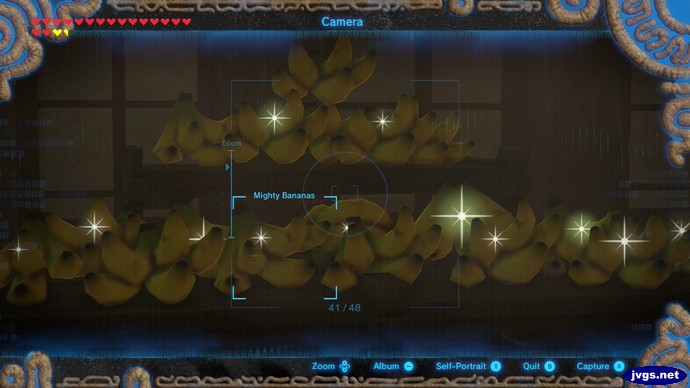
A room full of mighty bananas in the Yiga Clan hideout in Legend of Zelda: Breath of the Wild.
OH! BA-NA-NA!

I’m generally not a big fan of stealth in games, and this area seemed quite tricky at first. And I did die a few times. I guess the moral of the story is to never mess with a Yiga’s banana.
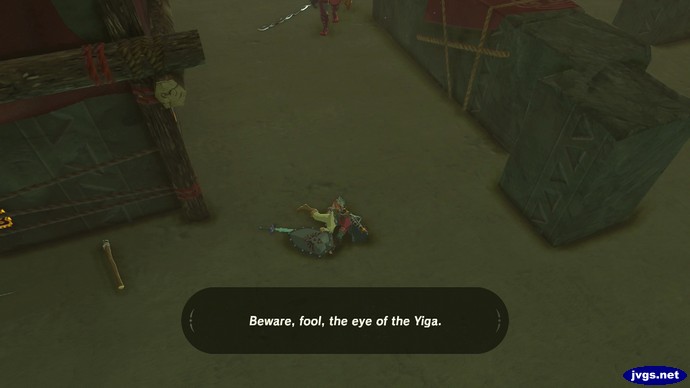
Beware, fool, the eye of the Yiga.But fortunately, it didn’t take me too long before I cleared the area and defeated the Yiga Clan leader, Master Kohga. I then recovered the thunder helm and returned it to Riju (after completing a nearby shrine).

After chatting with her, the two of us were ready to head out for Naboris! After taking out the mechanical camel’s feet, I headed inside my fourth (and final) divine beast.

Once I reached the guidance stone inside, I gained access to the map and the divine beast controls. Rather than just turning one object (like a trunk or an entire ship), I had control of three separate cylinders. In addition, those cylinders have circuits that can carry electricity, to power different parts of the beast. This is the most complex of the four divine beasts, and I’d say it’s probably the toughest as well.
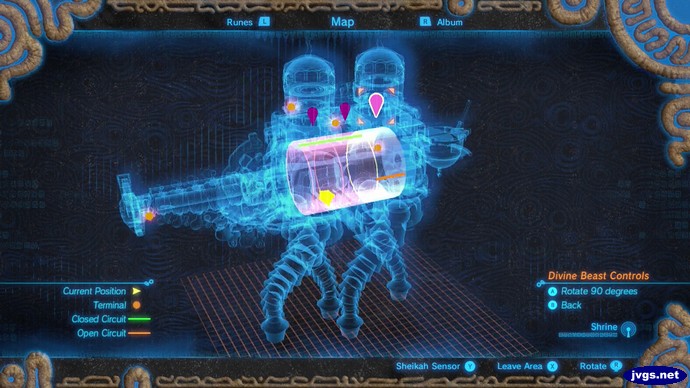
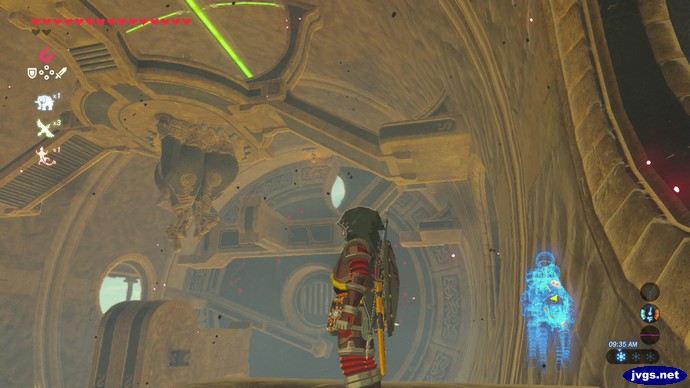
The map of Divine Beast Naboris in Legend of Zelda: Breath of the Wild on Switch.Inside Divine Beast Naboris in The Legend of Zelda: Breath of the Wild (BOTW).But after a while, I activated all of the terminals and then went on to fight the boss of the divine beast. Things were going well, at first. I knocked off half of his life meter in about two minutes. But then, he changed strategies. He’d speed in close quicker than I could find him, and zap me, causing me to drop my shield. This happened over and over again. And his attacks took big chunks of my health as well, so I was consuming a lot of food.

I was struggling, and it only got worse when the Master Sword ran out of power. Not only were my other weapons not as powerful, but his zapping me caused me to now drop my weapons as well! Shock resistance was not helping, either. He was kicking my butt, but I kept going even though progress was slow. Eventually I did beat him, even though I lost many weapons, shields, and food items during the fight. This was the toughest of the divine beast bosses, by far. I feel bad for anyone who headed to this beast first.

With all four divine beasts defeated, I could go on to Hyrule Castle and try to defeat Calamity Ganon. But I’m not in a rush to do that. So I worked on some side quests…including one where I bought my very own house in Hateno Village!
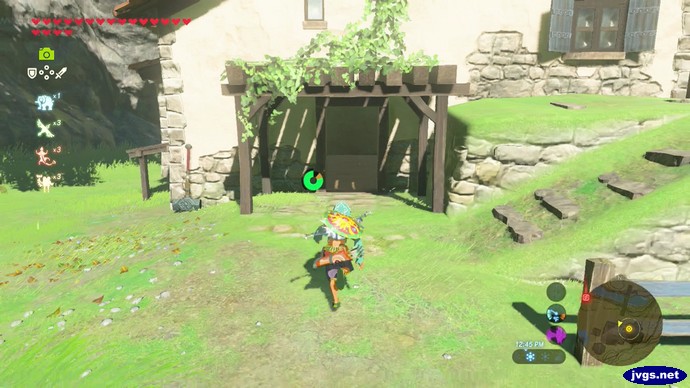
My house in Zelda: Breath of the Wild on Nintendo Switch.
Home sweet home. And I don’t owe Tom Nook a dime.

One of the homebuilders, Hudson, then set off to start a brand new village called Tarrey Town! I’ve been helping him out by supplying some wood, and by bringing in an employee (a Goron named Greyson) who can break apart large rocks.
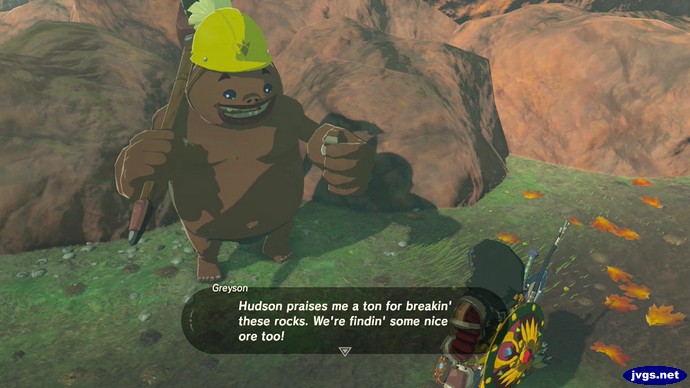
Greyson: Hudson praises me a ton for breakin' these rocks. We're findin' some nice ore too!Greyson’s little brother also opened up an ore shop here. Tarrey Town is off to a nice start, but there’s more work to be done!

I then did some miscellaneous things. I had a fairy upgrade some of my equipment, I had Hestu expand some inventory slots, I worked on more side quests, I explored a bit, and I completed a couple of shrines. Even though I have no idea where I’ll go next time, I’m sure it’ll be fun.

And if you haven’t already seen it, here is my Breath of the Wild “Messing Around” video. It features some things I’ve mentioned in previous blog entries. That includes the hunting scene I dropped in on, jumping around shirtless in Ventest Clothing, pole dancing on a treetop, setting wolves on fire, and more. I hope you’ll give it a watch. 🙂
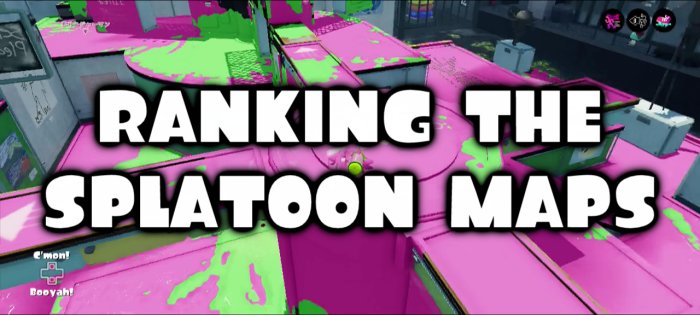
Ranking the Splatoon Maps

Yesterday, Nintendo re-confirmed that fan-favorite Splatoon map Moray Towers was returning in Splatoon 2. As you may recall, Moray Towers was one of the top three maps voted on for the final Splatfest last summer. In Nintendo’s tweet, they also asked what everyone’s favorite maps were. That inspired me to finish up my list of my favorites, which I started to write a while back.

This list is based on turf war mode, and I generally either play with a shooter or a roller. These rankings are not set in stone, and my opinions on some stages have changed over time. For maps that are ranked just a few spots apart, there may not be a huge difference between them. And of course, your opinions may vary. Feel free to comment with your favorites and least favorites at the bottom!

With all that said, here is my list. The maps are ranked from best to worst.

1. Kelp Dome

This large map has many rooms and lots of territory to ink. The large central area is often home to some tough battles, but sneaking into enemy territory is a lot of fun. The grated walkways provide some verticality, and each match here feels different. I enjoy playing this level pretty much equally with both shooters and rollers. I can’t kelp being excited when this stage is in the rotation.

2. Port Mackerel

This level has long corridors, and it has multiple lanes/alleys to take from the very start. The forklifts not only move back and forth, but climbing up them allows you to hop onto crates. The passageways are narrow, but there are many ways to go. Sneak through the right way and you can slip into enemy territory. I love using rollers in this map, as you can surprise opponents by squashing them when going around corners.

3. Piranha Pit

The conveyor belts here (mostly on ramps) provide a unique feature to this map. But I think it’s the sheer size of the map that draws me to it. It’s huge, with lots of turf waiting to be inked. The central section is often a violent combat zone, but watch the map and you may be able to spot a great place to run off and just lay down some ink.

4. Moray Towers

I think Moray Towers is a map that you either love or hate. Personally, I love it; it’s been one of my favorites since it was released as DLC. You can dive straight into battle, or you can score a lot of turf running up and down the ramps. Getting past the center square can be tough at times, but it’s quite rewarding when you do. However, it can be frustrating at times, when a well-protected sniper camps out and your teammates don’t (or can’t) help take him or her down.

5. Flounder Heights

The tall apartment buildings here give this map a sense of height not seen in other maps. Moray Towers is tall, but it’s more spread-out and the height change is gradual. Here, you can go straight up as you scale the tall buildings. But it’s not just about height, there’s a lot of ground space as well, making this one of the larger maps in the game.

6. Museum d’Alfonsino

This museum stage is a work of art. The large rotating cylinders are the signature attraction here, and this is another huge map. I tend to prefer large maps, and Museum d’Alfonsino is one of my favorites.

7. Walleye Warehouse

The base areas on this map are very narrow, but the central section is quite wide. This was one of my favorite maps early on, before the DLC stages were added to the rotation. And it’s still one that I like a lot, despite it being one of the smaller maps. I’ve always loved the little side alleys for bypassing the central firefight and sneaking ahead into enemy territory.

8. Hammerhead Bridge

A bridge that is under construction is the setting for this level. It’s a long map, but fortunately it’s not as narrow and cramped as Arowana Mall. It has a top level, with platforms and grates you can walk across, as well as a solid lower level. This may be in the middle of the pack, but I enjoy this map quite a bit.

9. Blackbelly Skatepark

Honestly, I’m a bit surprised I’m ranking this so high. At one point, it was my 2nd least-favorite map. But that was early on, when I was still using a roller exclusively. Ironically, a roller isn’t a good fit in the skatepark. Some curved areas are too steep for the rollers to handle, and it’s harder just to get around when rolling. But once I started using a shooter, I gradually came to appreciate this map.

10. Saltspray Rig

This map takes place on a large oil rig, and it has a lower level and an upper level. There are two elevators you can use to move between them, or you can take the winding ramp paths. Of course, you can also jump from the upper level to the lower level. The largest piece of real estate is a large room on the upper level, far from both spawn points. The team that controls this area often (but not always) wins the match. It is a fun stage overall.

11. Bluefin Depot

This map is unique in that it doesn’t have one central battle area, but two–a left and a right, separated by a gap that cannot be jumped across. Both teams’ bases are on a higher level, and you can take either route into the central areas to make your way up to the other team’s base. This one requires you to keep your eye on the map, because you may be dominating one side of the map and then notice the other team has swept through the other side and has gone up into your base.

12. Urchin Underpass

This would be a good time to mention that I do like most maps in the game. So even though Urchin Underpass is fairly low on my list, it’s not a bad map and I do enjoy it most of the time. There are several ways to reach the central battle area, so you rarely feel pinned in.

13. Camp Triggerfish

I love the camp setting, and being out in nature gives this map quite a different feel from the urban and industrial settings of other stages. But with that said, I don’t like the layout of this map. It’s basically two large semi-circles, with only two places to cross over to the other side. And one of them isn’t even available until the final minute of battle. There are places to shoot across to the other side, but the layout encourages a predictable clockwise flow of squid movement. It is quite a large map though, and it can be fun at times, but it’s not one of my favorites overall.

14. Mahi-Mahi Resort

This tropical resort stage has an appealing atmosphere, and much of it takes place on floating platforms. There are many gaps where you can fall into the water, and you’re likely to die a lot…especially when you’re first learning the layout. Many of my worst fails took place on this map. Halfway through a match, the water recedes and more of the floor becomes available to ink (and walk on). While this map can be fun once in a while, it’s generally not a stage I hope to see in the rotation.

15. Arowana Mall

Arowana Mall is a long, narrow stage. The side corridors provide alternate routes to the opposing team’s bases, but you need to get past the congested central space to use them. I liked this level early on in Splatoon’s lifespan, but I began to dislike it more and more as time went on. Perhaps I just grew (permanently) sick of it. It’s a bit too narrow for my tastes.

16. Ancho-V Games

The final map released for Splatoon is also the smallest…and the worst. Most of the action takes place in the large central room, and the defining feature of this map are the propeller-powered platforms that raise (or move) when you shoot them with a solid stream of ink. This stage is very compact, and it often seems to end up with one team spawn camping the other. It’s far too small for its own good.

What Do You Think?

What about you? Feel free to leave a comment below with your favorites. Splatoon 2 is coming out soon… If you’d like to send me a friend request on Nintendo Switch, my friend code is 0442-0992-5516. I plan on making many Splatoon 2 videos, so please consider subscribing to my Youtube channel jvgsjeff if you’re interested in seeing those.

Related: 7 Things I’d Like to See in Splatoon 2Splatoon 2 Global Testfire

Shield Surfing & Wolf Burning

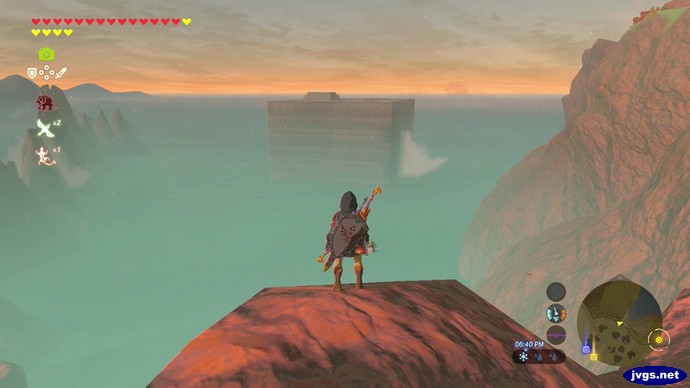
Lately I’ve taken a break from progressing the story in Breath of the Wild, and I’ve set off to complete some shrine quests and side quests. And of course, I’ve done some exploring as well. I was quite surprised when I saw what looked like a modern apartment building just off the coast. Even though I didn’t head there yet, it’s something I’ll have to check out at some point.

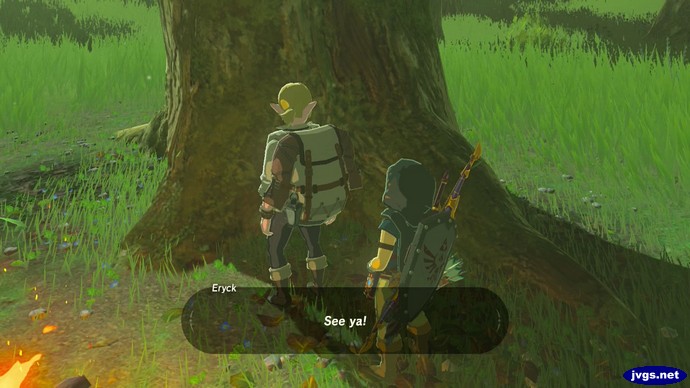
A modern looking building in The Legend of Zelda: Breath of the Wild.I ran into this guy Eryck, and when I started a conversation, he never turned around to face me! It was kind of weird talking to the back of his head like this. But maybe I shouldn’t post this here, because now I’m talking about him behind his back.

Eryck: See ya!
How can you see me? You’re looking at the tree.

I then headed to the Spring of Power, where I triggered a new memory. I’m supposed to offer Dinraal’s scale here, but I don’t have it yet.

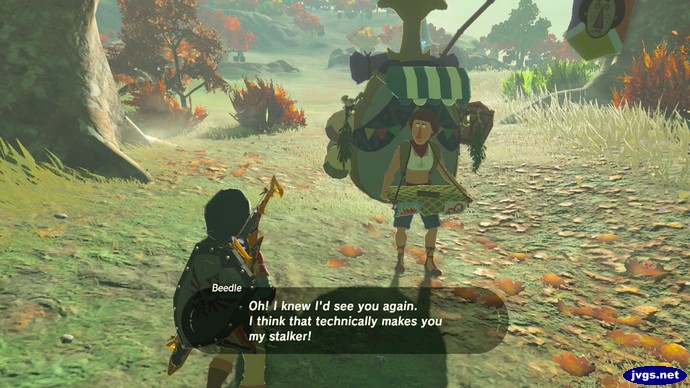
I ran into Beedle nearby, and he actually called me his stalker! The nerve of this guy!

Beedle: Oh! I knew I'd see you again. I think that technically makes you my stalker!Then he asked me to stop following him around. As if. I want to squash this pesky Beedle.

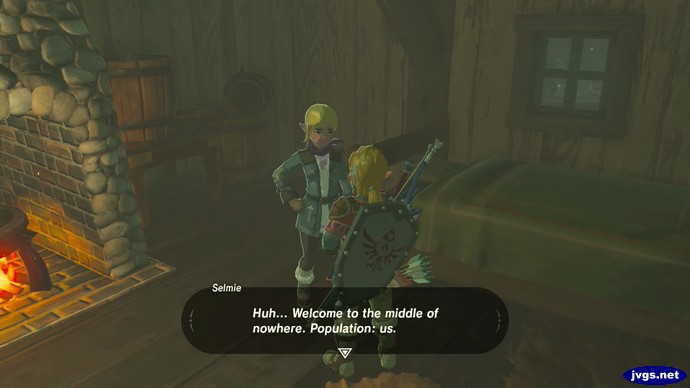
After completing five shrines, I had enough spirit orbs to redeem two more heart containers. I then headed up to Hebra Mountain, where I met Selmie.

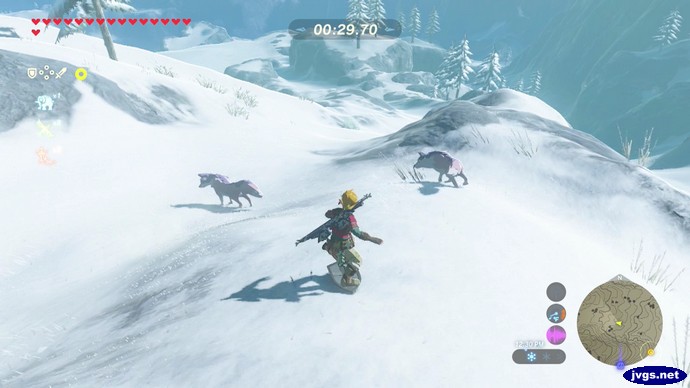
Selmie: Huh... Welcome to the middle of nowhere. Population: us.She gave me a shield-surfing lesson. You just whip out your shield, stand on it, and slide down the mountain. Maybe shieldboarding would be a more appropriate name. I’m not very good at it yet, but this is a cool thing to include in the game.

Shield surfing down a mountain in The Legend of Zelda: Breath of the Wild for Nintendo Switch.
Icy what you did there.

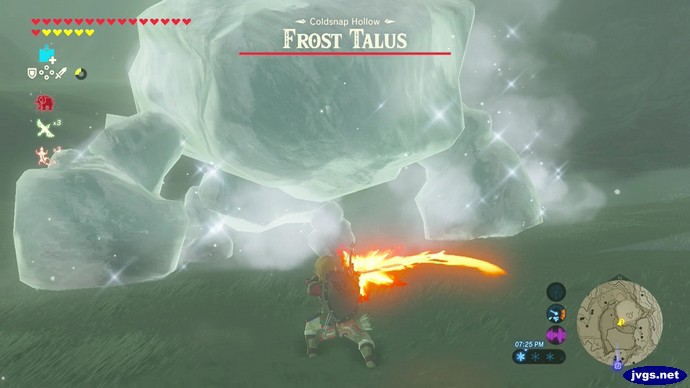
It reminded me of the snowboarding mini-game in Final Fantasy VII, but that was a separate mini-game and not something you could do on your own during normal gameplay. But anyway, one lesson was enough for me (for now, at least), so I continued on to Coldsnap Hollow. There, I fought the Frost Talus for a side quest.

Fighting the Frost Talus in Zelda BOTW.
This guy was stone cold.

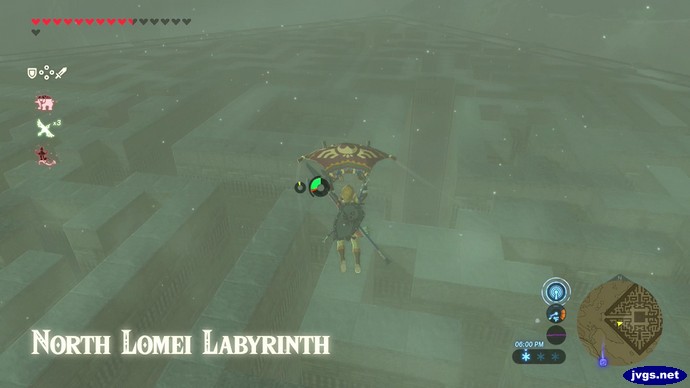
After that, I headed over to a large maze that was visible on the map: It was the North Lomei Labyrinth.

Dropping in on the North Lomei Labyrinth in Zelda: Breath of the Wild.
This labyrinth is so big, it’s a-maze-ing.

I dropped in on some enemies and then made my way through the maze. Eventually, I found the way into the shrine hidden away here.

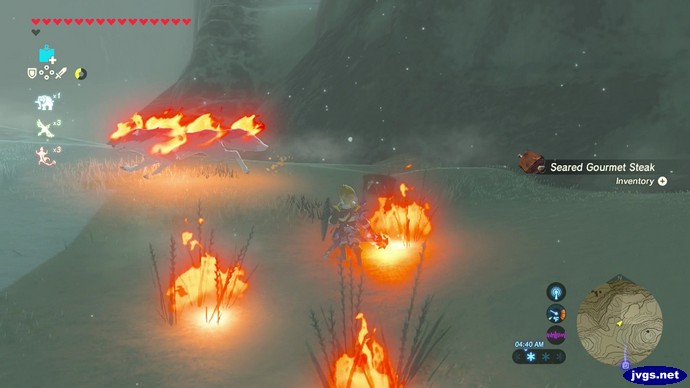
After using a meteor rod to melt some large ice blocks, I decided to keep using it for a while. Not only will the fire automatically cook the meat of animals you kill, but sometimes they’ll survive…and continue running around as they’re on fire.

A burning wolf runs away from me in The Legend of Zelda: Breath of the Wild for Nintendo Switch.
The wolf. The wolf. The wolf is on fire.

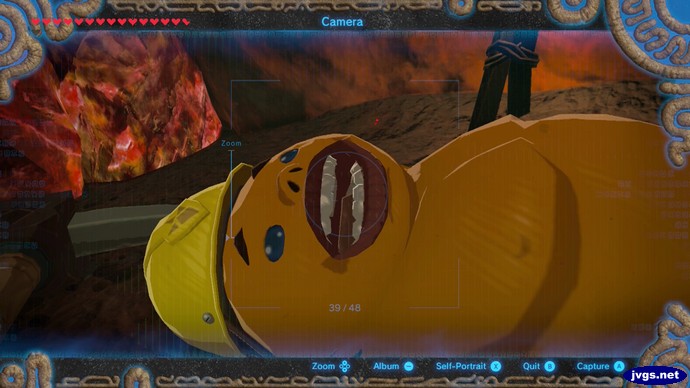
Once I was done in the frozen mountains, I went somewhere much warmer. In the Death Mountain area, I went to Gorko Tunnel in search of Gonguron. And indeed, that’s where he was. He looked exhausted, though.

An exhausted Gonguron in Zelda BOTW.I took him some rock roast, which his brother cooked for him. I watched him eat it, and it looked like it must have really hurt his teeth. But once he finished eating, he opened up a path to another shrine. After completing that shrine, I redeemed more spirit orbs for another heart container. At this point, I wrapped up my game for the time being.

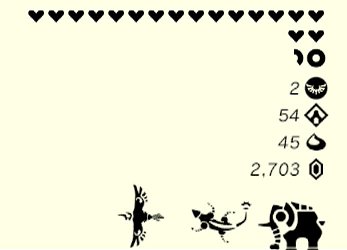
In all, my completed shrine total is up to 54 now. Here’s an updated look at my current status. I may head for that last divine beast next time.

Jeff's Zelda: Breath of the Wild status as of June 19, 2017.Ever wonder how Nintendo came up with the names of all the shrines in this game? I think this is how they did it. 😉

How Nintendo came up with shrine names in Zelda: Breath of the Wild. A Boggle game shakes up and the letter dice make the names.