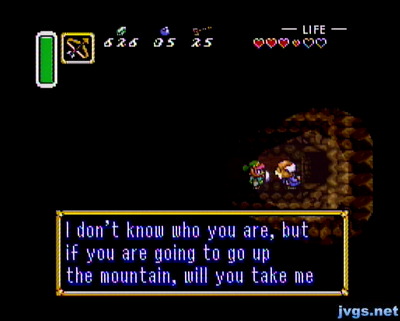
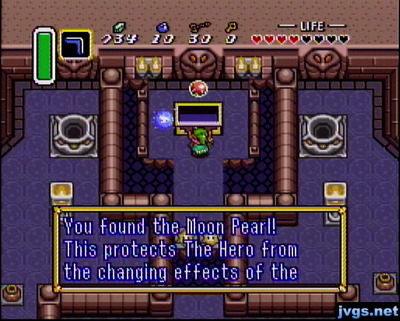
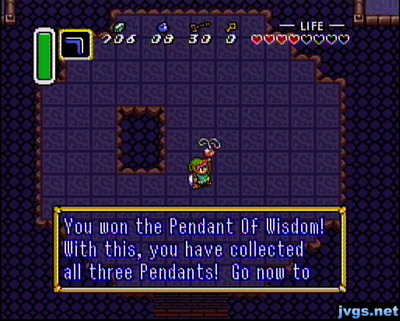
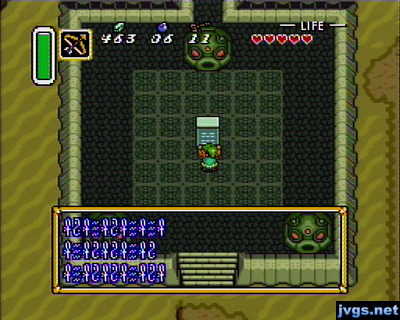
It’s been a very long time since my last Zelda: Link to the Past blog entry, but I just spontaneously got the urge to play it today. When I left off last time, I had just acquired the third pendant up on Death Mountain. So now, I was headed off to the Lost Woods in search of the Master Sword. The journey into the misty Lost Woods is one of the most memorable parts of the game for me.
 The three pendants allowed me to pull the Master Sword out of its resting place. Sahasrahla immediately contacted me telepathically–I’m surprised I get any reception at all this deep in the woods! He told me that the sword makes evil retreat; it apparently has the same effect on fog.
 On my way out of the woods, Sahasrahla contacted me again
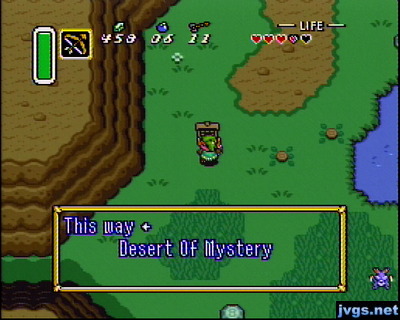
 trying to sell me life insurance. He told me to hurry back to the sanctuary, because soldiers were there! I rushed back as soon as I could. Actually, that’s not entirely true. I stopped to talk to some lumberjacks and then I robbed their home. But in my defense, it was a quick robbery.
Once I got to the sanctuary, I was told that I was one second too late. Maybe if Sahasrahla didn’t keep calling me every minute, I could have saved his butt!
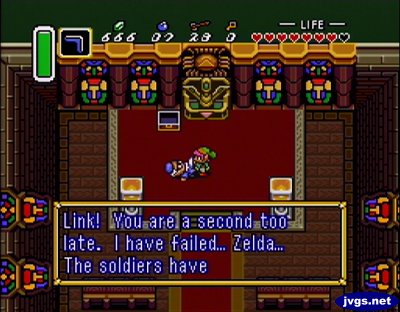 He told me that the soldiers have taken Zelda. So I went back to the castle, broke the seal on roof, and tracked down the wizard Agahnim. I arrived just in time for a magic show! He levitated Zelda and then made her disappear! That was impressive, but I was hoping to see him pull a rabbit out of a hat.
 Instead, he made himself disappear. But I went up
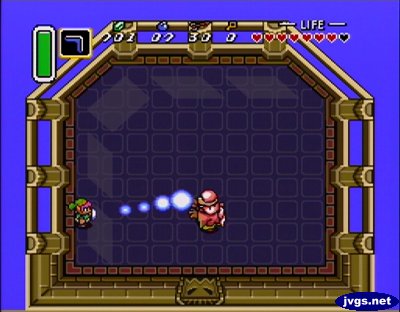
 on stage and saw a trick door hiding behind a curtain. So that’s how he does it! He didn’t appreciate that I figured out his trick illusion. He was afraid he was going to be kicked out of the magician’s alliance! He was so mad that he wanted to fight me! He kept shooting magic balls at me, but I knew I had to use my sword to slap those balls right back to him.
 He was swollen and bruised by the time I got done with him, but he wouldn’t admit defeat. Instead, he banished me to the Dark World! What a sore loser!
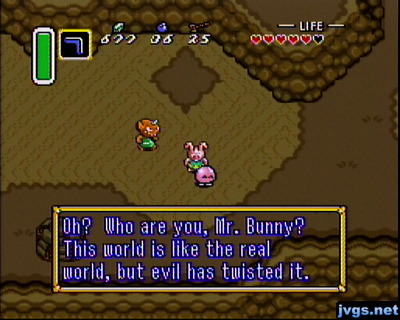
As soon as I arrived there, I had another call from Sahasrahla. Why did I ever give this guy my number? Anyway, he told me I had to rescue seven maidens who were also sent to the Dark World by Agahnim. I had to wonder…did they deflect his magic balls too? I guess losing battles to girls and elves must have really deflated his ego. Maybe he’ll have to try fighting some Smurfs next time.
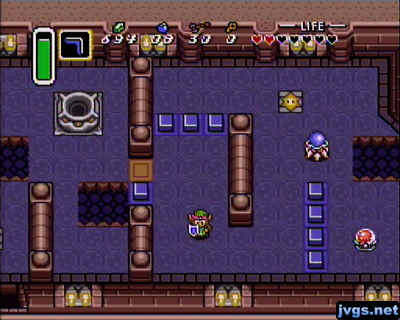
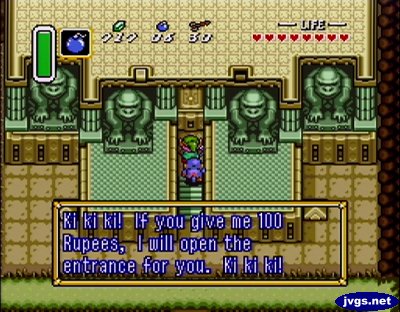
My next destination was the Palace of Darkness. On my way there, I ran into my good old friend Kiki the monkey! I had to pay him 10 rupees just to get him to join me, but I knew it would be worth it in the long run. Once I got to the palace, I needed him to open the front door! But he demanded 100 rupees from me. At this point, I realized Kiki may not be the friend I thought. He only wants my money!
 This dungeon has some tricky parts. You’re required to use switches, push statues, sprint across a falling bridge, and bomb holes in the floor to drop down to other areas.
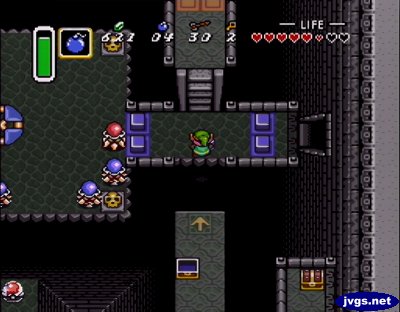 I remembered many parts of this dungeon well. But I still got stuck for a while, all because I failed to notice a bombable wall in one of the rooms with a teleport tile. But once I corrected that oversight, I was able to obtain the hammer and pound my way to the boss fight.
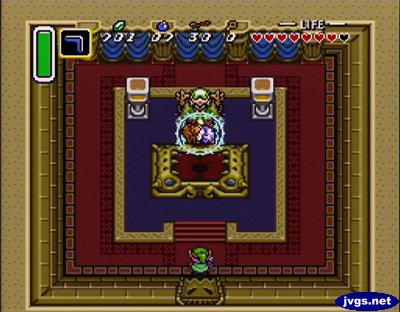
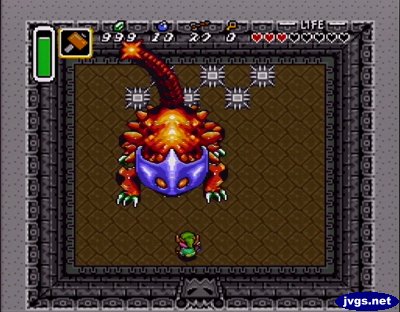 This Helmasaur King apparently thought it was Halloween or Mardi Gras, wearing a mask like that. Nothing a few bombs to the face can’t fix. But once the mask was gone, I saw why he needed it: He was hiding a big, nasty, green pimple on his forehead! Ew!
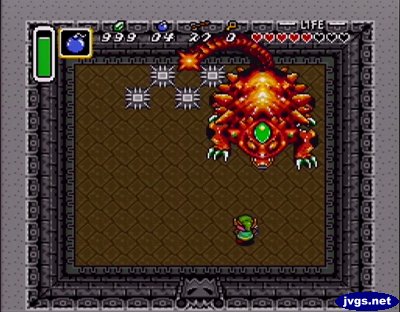 Once I used some sharp arrows to pop his zit, the monster was defeated and the first maiden was freed. She told me where the other six ladies were, so my map now shows the location of those dungeons. At this point, I ended my game for the night. I’ll be back for more, but I’m not sure when it will be.
One other note about this blog. I have gone back and tagged previous entries. Each entry’s tags will be visible on the side by the date, and there will generally be a link to all posts relating to a series (such as the Legend of Zelda tag) as well as one for that specific game–in this case, LTTP. This will make it easier to find previous posts. That’s especially helpful when I haven’t blogged about a certain game in a long time.